How To Use Our U-Block Moulds: A Simple Guide
At Utranazz, we are a family-run business with over 50 years of experience in the concrete equipment industry. We knew that utilising residual concrete in a useful way was an important issue to tackle, and thus our range of Concrete U-Block Moulds was born! Read on to be inspired and find out more about how U-Block Moulds work, their benefits, and a short step-by-step guide.
How do they work?
Our U-Moulds are the perfect solution for producing concrete Lego blocks. They are cleverly made to be flexible, so that the same mould can produce many different block shapes and sizes. They feature large studs on the top of the concrete blocks, resulting in a neat stackable experience without the use of mortar.
Key Benefits of U-Block Moulds
U-Block Moulds can be applied to a wealth of situations and purposes. See below for a list of their key benefits.
- Simple interconnectivity between blocks - no mortar required to connect blocks together
- Interlocking system and lifting pins in the top of the blocks make them easy to move and stack
- Create various shaped concrete blocks from the same mould using dividers and plates
- Great solution for an array of different projects, from perimeter walls and fences to traffic management, to fire protection walls.
A step-by-step guide to using our U-Moulds
- The mould must be placed on a flat, level surface before use.
- Attach the recess formers and lifting pins (available from Utranazz).
- Apply the release oil (available from Utranazz) to the mould’s interior – this is so the block can easily be removed without cracking at the end of the process.
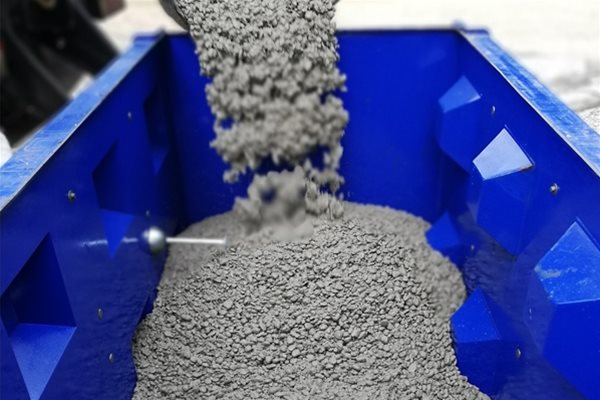
- Slowly pour the concrete into the mould until it is full.
- The concrete must be vibrated during the pouring process, in order to ensure a compact and homogenous block.
- Once the block has been poured, smooth out the concrete with a trowel.
- Leave the concrete to set – around 24 hours. The amount of time each block needs to cure will vary depending on factors such as weather conditions, temperature, and the type of concrete used.
- Open the mould by removing the wedges that close each side, then remove the sides themselves.
- The concrete block should then be lifted and rotated to check for any inconsistencies. Once you are satisfied, then the block is ready to be used!
With the U-Block Mould’s endless applications and modifications available, there’s no end to the possibilities your business can explore! We also have a wide range of accessories and lifting devices in stock. And, if you’re buying bulk, you’re in luck! Contact our team for exclusive discounted rates. Email: [email protected] or Tel: 01280 820770.